
Cleaning and drying skate bearings is the single most effective way to extend their lifespan and improve your roll speed. However, using the wrong method can permanently ruin your bearings in minutes.
This complete guide reveals expert tips and proven methods to deep-clean bearings safely. You will learn the exact steps to remove grease, dry them without rust, and relube for maximum performance. Keep reading to avoid costly mistakes.
Best Cleaners and Lubricants for Skate Bearings
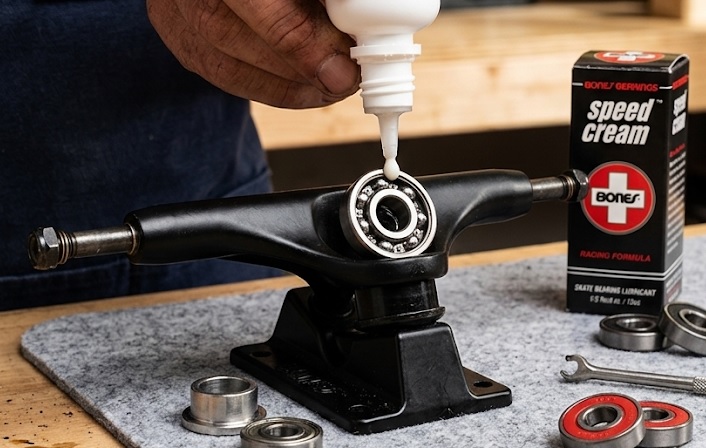
Bones Speed Cream – Best Overall Lubricant
This synthetic lubricant is specifically designed for skate bearings. It penetrates deep to reduce friction without attracting dirt. Bones Speed Cream is the top choice for skaters who want a fast, quiet roll with minimal maintenance. Ideal for all bearing types.
Skate Toolz Bearing Cleaner & Lube Kit – Best All-in-One Solution
This kit includes a rotating cleaning tank, a bottle of citrus cleaner, and Speed Cream lubricant. It simplifies the entire cleaning process by agitating dirt loose without disassembly. It is the best option for beginners who want a foolproof, complete system.
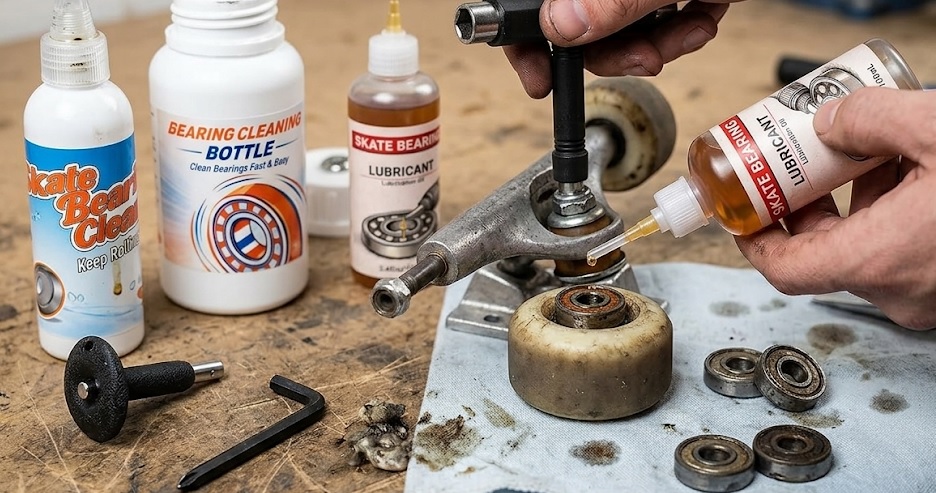
Slime SKB-SS1 Skate Bearing Oil – Best Budget Option
This high-viscosity oil provides excellent protection against moisture and rust. It is thicker than standard lubricants, making it ideal for outdoor or wet conditions. Slime SKB-SS1 is recommended for cruisers and longboarders who ride in rough environments.
Why Proper Cleaning and Drying Methods Matter for Skate Bearings
Using the wrong solvent or drying technique can destroy your bearings’ internal seals. Water-based cleaners cause immediate rust, while high-speed spinning can warp the metal races.
The Risks of Using Water or Compressed Air
Water leaves microscopic moisture inside the bearing that leads to corrosion. Compressed air spins bearings at dangerous speeds, generating heat that damages the lubricant and races. Never use a drill or air compressor to dry your bearings.
- Water: Causes rust within hours, even if you think it is dry.
- Compressed air: Spins bearings up to 10,000 RPM, causing friction burns.
- Brake cleaner: Strips all factory grease and damages rubber shields.
Why Solvent Choice Directly Affects Bearing Performance
Isopropyl alcohol (91% or higher) is the safest solvent for cleaning skate bearings. It evaporates completely without leaving residue and does not attack rubber seals. Acetone or citrus cleaners are effective but require thorough drying to prevent chemical residue.
Key Takeaway: Always use a 100% evaporating solvent like isopropyl alcohol. Avoid any liquid that leaves a film or contains water. This simple choice prevents 90% of common bearing failures.
How to Tell if Your Bearings Need Cleaning
Listen for a gritty grinding sound or feel a rough push when you spin the wheel. Visible dirt buildup on the shield is another clear sign. Clean bearings every 4-6 weeks for optimal performance and longevity.
Step-by-Step Guide to Cleaning Skate Bearings Safely
Follow this exact process to remove dirt without damaging your bearings. Work in a clean, well-lit area and lay down paper towels to catch small parts.
Step 1: Removing the Bearings and Shields
Pop the bearings out of your wheels using the axle of the skateboard. Use a seam ripper or safety pin to gently pry off the rubber or metal shield on one side only.
- Never remove both shields unless you plan to deep-clean the races.
- Label the shields so you return them to the correct bearing.
- Work over a tray to catch tiny ball bearings if they fall out.
Step 2: Soaking and Agitating in Solvent
Place the bearings (shield-side up) into a small jar filled with 91% isopropyl alcohol. Swirl the jar gently for 30 seconds, then let them soak for 5 minutes.
For stubborn grime, add a drop of dish soap to the alcohol. Shake the jar in a sealed container for 10 seconds to loosen packed dirt. Do not shake aggressively, as this can dislodge internal cages.
Step 3: Drying Without Spinning the Bearings
Remove bearings from the solvent and place them on a paper towel. Blot them dry by pressing gently with a clean towel. Let them air dry on a radiator or in direct sunlight for 30 minutes.
Pro Tip: Place bearings on a baking sheet in a 150°F oven for 10 minutes. This evaporates all remaining moisture without damaging the metal. Never use a microwave.
How to Lubricate Skate Bearings for Maximum Speed
Applying the right lubricant correctly is just as important as the cleaning process. Too much oil attracts dirt, while too little causes friction and heat buildup.
Choosing the Right Lubricant for Your Riding Style
Thin synthetic oils like Bones Speed Cream are best for speed and street skating. Thicker oils or grease work better for wet conditions and longboarding.
- Light oil: Ideal for park, street, and vert skating. Offers lowest friction.
- Medium oil: Good balance of speed and protection for daily commuting.
- Grease: Best for wet or dirty environments. Slower but lasts longer.
The Proper Lubrication Technique
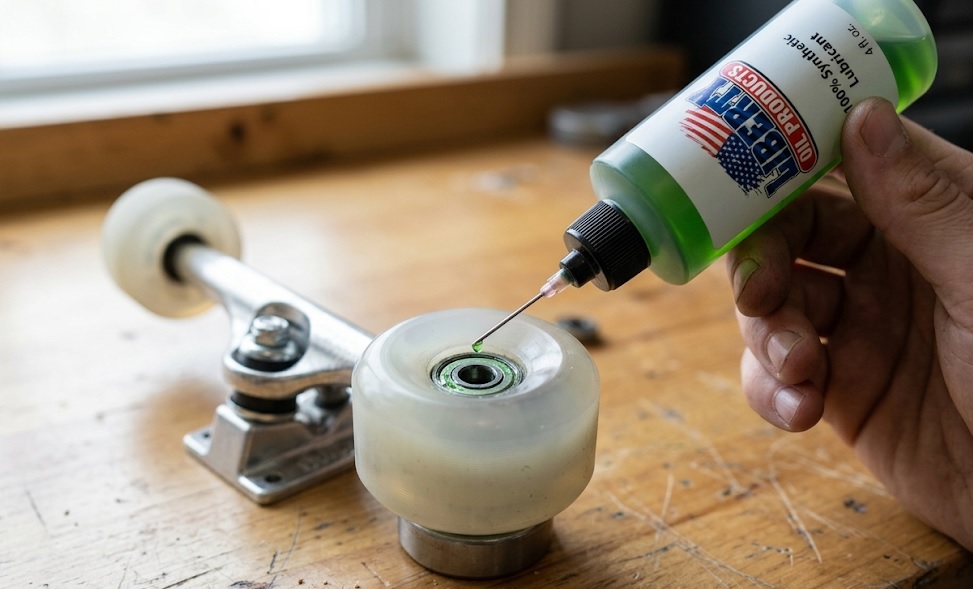
Place one drop of lubricant directly onto the balls inside the bearing. Spin the bearing slowly by hand to distribute the oil evenly around the race.
Wipe away any excess oil from the outside of the bearing with a clean cloth. Too much lubricant will seep out during riding and attract dirt and debris.
How Long to Let Lubricant Settle Before Riding
Allow the lubricant to penetrate for at least 5 to 10 minutes after application. For best results, let the bearings sit overnight before reinstalling them.
Key Takeaway: Use one drop of thin oil per bearing. Spin gently, wipe excess, and wait 10 minutes. This method maximizes speed and extends bearing life.
Common Mistakes That Ruin Skate Bearings During Cleaning
Even experienced skaters make errors that permanently damage their bearings. Avoid these common pitfalls to keep your bearings spinning smoothly for months.
Using the Wrong Solvents or Cleaners
Brake cleaner, acetone, and gasoline strip away essential factory grease inside the bearing. These harsh chemicals also degrade rubber seals, causing premature failure. Stick to 91% isopropyl alcohol or a dedicated bearing cleaner for safe results.
- WD-40: Leaves a sticky residue that attracts dirt and slows bearings.
- Water: Causes immediate rust, even if you dry the bearings thoroughly.
- Paint thinner: Damages plastic bearing cages and rubber shields.
Spinning Bearings While Wet or Dry
Spinning wet bearings forces moisture and grit deeper into the races. Spinning dry bearings without lubricant creates metal-on-metal friction that wears down the balls. Always dry bearings completely before adding lubricant.
Over-Lubricating or Under-Lubricating Bearings
Too much oil attracts dust and creates a thick paste that slows your roll. Too little oil leaves metal surfaces exposed to friction and heat damage. One drop per bearing is the perfect amount for most skate applications.
| Mistake | Consequence | Solution |
|---|---|---|
| Using water | Rust within hours | Use isopropyl alcohol |
| Spinning wet bearings | Grit embeds in races | Air dry completely first |
| Over-lubricating | Attracts dirt and slows roll | Use one drop per bearing |
Key Takeaway: Avoid harsh solvents, never spin bearings while wet, and use exactly one drop of lubricant. These three rules prevent 95% of cleaning-related bearing damage.
How Often to Clean and Dry Skate Bearings for Best Performance
Cleaning frequency depends entirely on your riding environment and conditions. Dirty streets and wet weather require more frequent maintenance than indoor park skating.
Cleaning Schedule Based on Riding Conditions
Street skaters should clean their bearings every 2 to 3 weeks due to dust and debris. Park skaters can extend that interval to every 4 to 6 weeks with regular use.
- Street skating: Clean every 2-3 weeks. Dirt and sand accelerate wear.
- Park or skatepark: Clean every 4-6 weeks. Surfaces are generally cleaner.
- Wet conditions: Clean immediately after every session to prevent rust.
Signs Your Bearings Need Immediate Cleaning
Listen for a grinding or crunching sound when you push or turn. Feel for rough spots when spinning the wheel by hand. Visible dirt caked around the shield is another clear indicator.
When to Replace Bearings Instead of Cleaning Them
If bearings feel rough after cleaning and lubricating, the internal races are worn. Bearings with visible rust, pitting, or flat spots cannot be saved and must be replaced. Damaged bearings ruin wheel hubs and slow you down.
| Condition | Action | Frequency |
|---|---|---|
| Normal use, no noise | Clean and relube | Every 4-6 weeks |
| Grinding sound | Clean immediately | As needed |
| Visible rust or damage | Replace bearings | Immediately |
Key Takeaway: Clean bearings based on your riding environment, not a calendar. Listen for grinding sounds and inspect for rust. When in doubt, replace damaged bearings to protect your wheels.
How to Store Skate Bearings to Prevent Rust and Damage
Proper storage between cleaning sessions is just as critical as the cleaning process itself. Moisture and temperature fluctuations are the primary enemies of stored bearings.
Best Storage Environment for Clean Bearings
Store your cleaned and lubricated bearings in a cool, dry place with stable temperature. Avoid garages, basements, or bathrooms where humidity levels are high.
- Ideal location: Bedroom closet or indoor drawer away from windows.
- Avoid: Damp areas, direct sunlight, and extreme heat sources.
- Temperature range: 60°F to 75°F (15°C to 24°C) is optimal.
Using Airtight Containers for Long-Term Storage
Place bearings in a sealed plastic bag or small glass jar to block out moisture. Add a silica gel packet to absorb any residual humidity inside the container. This method keeps bearings rust-free for months between uses.
Storing Bearings Inside Wheels vs. Separately
Storing bearings inside mounted wheels is convenient but risks moisture trapping. Removing bearings and storing them separately allows better airflow and inspection. Always label bearings by position to ensure proper reinstallation.
| Storage Method | Pros | Cons |
|---|---|---|
| Inside wheels | Convenient, saves time | Can trap moisture |
| Separate container | Better airflow, easy inspection | Requires labeling |
| With silica gel | Absorbs humidity | Needs replacement over time |
Key Takeaway: Store clean bearings in a cool, dry place inside an airtight container with silica gel. Remove them from wheels for long-term storage to prevent moisture damage and ensure peak performance.
How to Diagnose and Fix Common Bearing Problems After Cleaning
Sometimes bearings still feel rough even after a thorough cleaning. Knowing how to diagnose issues saves you from replacing perfectly good bearings prematurely.
Bearing Still Feels Gritty After Cleaning
This usually means dirt is trapped inside the bearing cage or raceway. Repeat the cleaning process with fresh isopropyl alcohol and soak for 10 minutes instead of 5.
- First attempt: Soak and agitate for 5 minutes.
- Second attempt: Soak for 10 minutes with gentle shaking.
- Third attempt: Consider replacing the bearing if still gritty.
Bearing Spins Slowly or Feels Tight
Over-lubrication is the most common cause of slow-spinning bearings after cleaning. Wipe away excess oil from the shield and race using a lint-free cloth. Spin the bearing by hand to distribute the remaining oil evenly.
Bearing Makes a Clicking or Ticking Noise
A clicking sound indicates a damaged ball bearing or a bent cage inside the race. This cannot be fixed by cleaning or lubrication. Replace the damaged bearing immediately to prevent further wheel damage.
| Symptom | Likely Cause | Solution |
|---|---|---|
| Gritty feeling | Trapped dirt inside | Re-clean with longer soak |
| Slow spin | Too much lubricant | Wipe excess oil off |
| Clicking noise | Damaged ball or cage | Replace bearing |
| Rough rotation | Worn raceway | Replace bearing |
Key Takeaway: Most post-cleaning issues are caused by trapped dirt or excess lubricant. Re-clean or wipe off oil before replacing bearings. Clicking sounds always mean replacement is necessary.
Conclusion: Master Cleaning and Drying Skate Bearings for Longer Life
Properly cleaning and drying skate bearings extends their lifespan by months and keeps your ride smooth. Avoid water, harsh solvents, and spinning bearings while wet to prevent permanent damage.
Use 91% isopropyl alcohol, air dry completely, and apply one drop of quality lubricant per bearing. This simple routine saves money and improves performance.
Clean your bearings today using the steps in this guide. Your wheels will roll faster, quieter, and longer than ever before.
Frequently Asked Questions about Cleaning and Drying Skate Bearings
What is the best way to clean skate bearings without damaging them?
The safest method is to use 91% isopropyl alcohol as your cleaning solvent. Remove the shields, soak bearings for 5 minutes, and gently agitate the jar.
Avoid using water, brake cleaner, or WD-40. These products cause rust, strip lubricant, or leave sticky residue that attracts dirt.
How do you dry skate bearings after cleaning them?
Place cleaned bearings on a paper towel and blot them dry gently. Let them air dry for 30 minutes in a warm, dust-free area.
For faster drying, put bearings on a baking sheet in a 150°F oven for 10 minutes. Never use compressed air or spin bearings to dry them.
Can I use WD-40 to clean my skate bearings?
No, WD-40 is not recommended for cleaning skate bearings. It leaves a sticky residue that attracts dust and slows your roll significantly.
WD-40 also displaces factory grease but does not replace it properly. Use dedicated bearing cleaner or isopropyl alcohol instead for best results.
How often should I clean my skate bearings?
Street skaters should clean bearings every 2 to 3 weeks due to dirt exposure. Park skaters can wait 4 to 6 weeks between cleanings.
If you ride in wet conditions, clean and dry bearings immediately after each session. Listen for grinding sounds as a sign that cleaning is needed sooner.
What is the best lubricant for skate bearings?
Bones Speed Cream is widely considered the best lubricant for skate bearings. It is a thin synthetic oil that reduces friction without attracting dirt.
For wet conditions, Slime SKB-SS1 skate bearing oil offers better moisture protection. Avoid thick grease unless you ride in extremely dirty environments.
How much lubricant should I put in each bearing?
Use exactly one drop of lubricant per bearing. Place the drop directly onto the balls inside the race after cleaning and drying.
Spin the bearing slowly by hand to distribute the oil evenly. Wipe away any excess from the outside to prevent dirt attraction.
Why do my bearings feel rough after cleaning?
Roughness after cleaning usually means dirt is still trapped inside the bearing cage or raceway. Repeat the cleaning process with a longer soak time.
If roughness persists after a second cleaning, the bearing races may be worn or pitted. In this case, replacement is the only solution.
Can I use a drill to spin bearings dry?
Never use a drill or compressed air to dry skate bearings. Spinning bearings at high speeds generates friction heat that warps the metal races.
This heat also burns off any remaining lubricant and can dislodge the internal ball cage. Always air dry bearings naturally for safety.
What should I do if my bearings make a clicking noise?
A clicking sound indicates a damaged ball bearing or bent cage inside the race. This damage cannot be repaired by cleaning or lubrication.
Replace the clicking bearing immediately to prevent further damage to your wheel hub. Riding on damaged bearings also slows you down significantly.
How do I store skate bearings between uses?
Store clean, lubricated bearings in a cool, dry place inside an airtight container. Add a silica gel packet to absorb any residual moisture.
Remove bearings from wheels for long-term storage. Label them by position to ensure proper reinstallation and balanced performance.